Creating a welcoming and stylish home doesn’t have to be expensive or complicated. One of the easiest ways to transform a room is by adding unique wall decor. DIY wall art allows you to express your personality, complement your interior style, and make your space feel more inviting. In this post, we’ll explore a variety of easy DIY ideas for wall decor that anyone can try, whether you’re a crafting beginner or looking for a quick weekend project.
Why Choose DIY Wall Decor?
Before diving into the projects, it’s worth considering why DIY wall decor is a great choice:
– Cost-effective: Many materials can be found at home or purchased inexpensively.
– Personalized: You can tailor the design to match your style and color scheme.
– Creative outlet: DIY projects provide a fun way to express yourself.
– Satisfaction: There’s a rewarding feeling in displaying something you made.
Now, let’s explore some simple and stylish ideas.
1. Painted Canvas Art
Materials Needed:
– Blank canvas or canvas board
– Acrylic paints
– Paintbrushes or sponges
– Painter’s tape (optional)
How to Make It:
Start with a blank canvas and select a color palette that matches your room. You can create simple geometric shapes by using painter’s tape to mask off areas. Experiment with stripes, triangles, or abstract designs. Alternatively, use sponges to dab colors for a softer effect. Allow the paint to dry thoroughly before hanging.
Tip: Try painting a series of small canvases with coordinating designs to hang together for a gallery-style look.
2. Washi Tape Wall Art
Materials Needed:
– Washi tape in different colors and patterns
– Scissors
– Measuring tape or ruler
How to Make It:
Washi tape is a decorative, low-residue tape perfect for temporary wall art. Create patterns like stripes, chevrons, or even simple shapes directly on your wall. Measure and mark lines lightly with pencil for precision. The best part is you can easily remove or change the design without damaging the paint.
Tip: Use washi tape to frame existing artwork or mirrors for a quick update.
3. DIY Wall Shelves
Materials Needed:
– Wooden boards or pallets
– Brackets or wall mounts
– Screws and screwdriver
– Sandpaper and paint or stain (optional)
How to Make It:
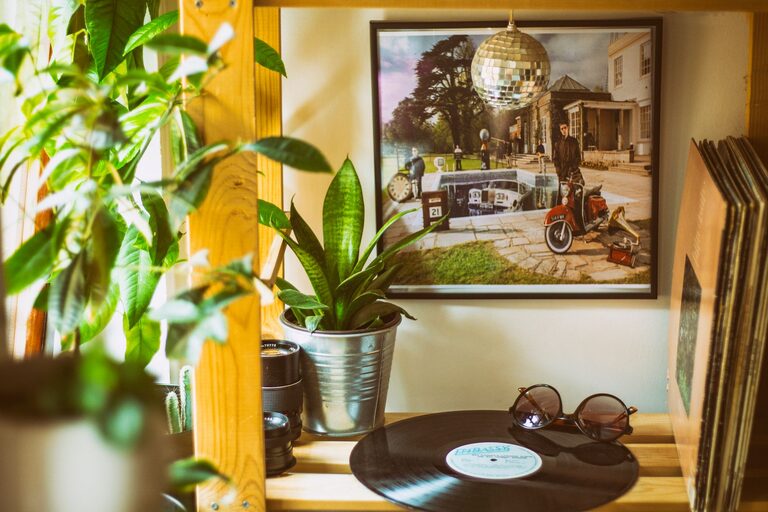
Simple wall shelves add both function and decor. Start with wooden boards cut to your desired size. Sand the edges for a smooth finish. You can leave the wood natural or paint it to match your decor. Secure brackets to the wall and place the shelves on top.
Decorate the shelves with small plants, books, or framed photos for an appealing display.
4. Framed Fabric or Wallpaper Panels
Materials Needed:
– Old picture frames
– Fabric remnants or wallpaper samples
– Scissors
– Staple gun or adhesive
How to Make It:
Give your walls a splash of pattern by framing pieces of fabric or wallpaper. Remove the glass from the frame, cut the material slightly larger than the frame backing, and attach it securely with a staple gun or glue. Reassemble the frame and hang.
Group several framed panels for a cohesive look.
5. Macrame Wall Hangings
Materials Needed:
– Macrame cord or thick yarn
– Wooden dowel or branch
– Scissors
How to Make It:
Macrame adds texture and a boho vibe to your walls. Basic knots like the square knot or lark’s head knot can be learned quickly through tutorial videos online. Attach cords of your chosen length to the dowel and knot them into your desired pattern.
Macrame wall hangings come in various sizes and can be customized with beads or feathers.
6. Photo Collage Wall
Materials Needed:
– Printed photos or postcards
– Adhesive strips or washi tape
– Level (optional)
How to Make It:
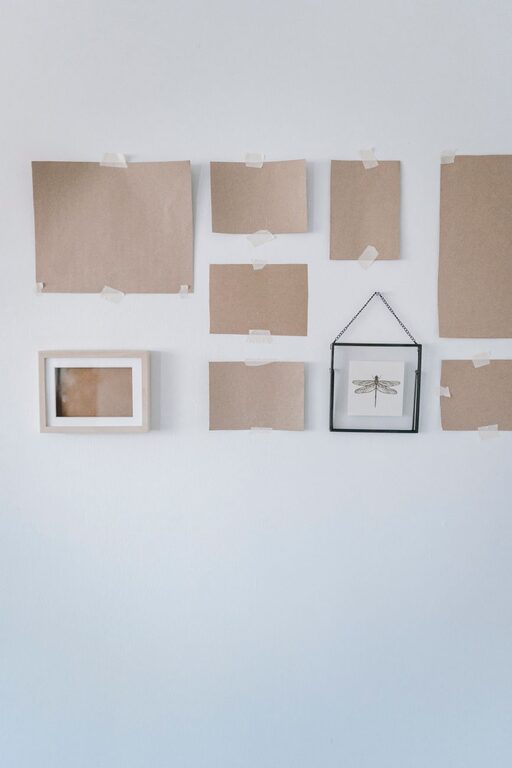
A photo collage wall is a heartwarming display of memories. Arrange your photos on the floor first to decide the layout. Use removable adhesive strips or washi tape to attach the pictures to the wall. Aim for balance and variety in spacing.
Changing photos seasonally can keep your decor fresh and meaningful.
7. Nature-Inspired Pressed Flower Frames
Materials Needed:
– Pressed flowers (can press flowers yourself or buy them)
– Clear glass frames
– Tweezers
– Cardstock or colored paper (optional)
How to Make It:
Pressed flowers create delicate and timeless art. Place flowers between glass panes or on cardstock inside a frame. Arrange them as you like—single blooms or clusters work beautifully. Use tweezers for careful positioning.
These frames work well in bedrooms, bathrooms, or cozy reading nooks.
Tips for Hanging DIY Wall Decor
– Consider the room: Choose projects that suit the space and lighting.
– Use proper hardware: Ensure your decor is securely attached with the right nails or hooks.
– Balance your layout: Mix sizes and shapes but keep visual harmony.
– Leave space to breathe: Avoid overcrowding your walls to maintain a clean look.
Final Thoughts
DIY wall decor can transform your space into a reflection of your personality and style. The best projects use simple materials, take little time, and bring big impact. Whether you paint a canvas, hang a handmade macrame piece, or create a photo collage, your creativity will shine through.
Try one or more of these easy ideas to refresh your walls and enjoy the process of crafting something special for your home. Happy decorating!